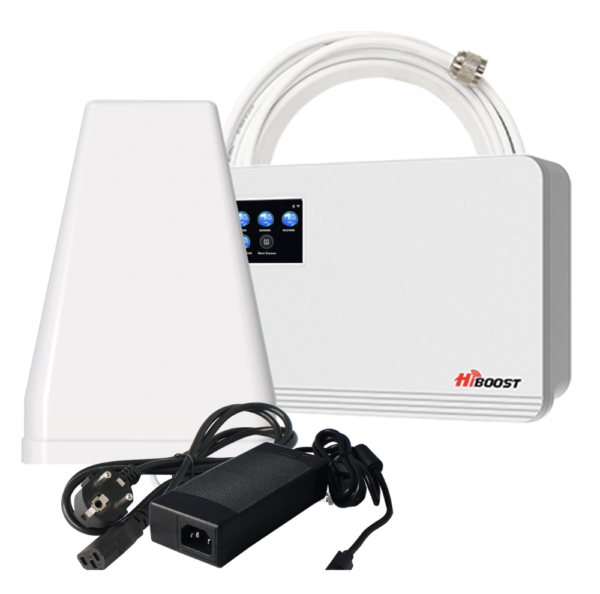
How to Install a Signal Booster – A Complete Step-by-Step Guide
How to install a signal booster: If you want stronger mobile coverage, faster data speeds, and crystal-clear calls, learning How to install a signal booster is one of the most valuable upgrades you can make to your home, office, or commercial building. A correctly installed booster transforms weak, unreliable mobile signal into a powerful, stable, and consistently high-performing connection.
This complete guide will walk you through everything you need to know—from setup basics to advanced installation tips—ensuring your booster delivers maximum performance and long-lasting results.
Why Installation Matters So Much
Even the best signal booster won’t deliver strong results if it’s poorly installed. The positioning of antennas, cable routing, and signal strength tuning directly influence how much coverage the system provides.
Understanding How to install a signal booster the right way allows you to:
- Unlock maximum boosting power
- Create wider indoor coverage
- Prevent interference or oscillation
- Support more devices at the same time
- Improve 4G and 5G performance everywhere
With the right steps, you’ll enjoy full-strength bars, fast LTE/5G speeds, and the reliability you’ve been missing.
Step 1: Check Your Outdoor Signal Strength
Before you begin installation, assess how much mobile signal exists outside your property. Boosters amplify existingsignal—they cannot create one from nothing.
How to check:
- Stand outside and look at your phone’s signal bars
- Switch to “Field Test Mode” for real measurements
- Test multiple directions (front, back, high, low)
You want at least 1–2 bars outdoors. If signal is extremely low, placing the external antenna at a higher point—like the roofline—may significantly improve performance.
Step 2: Choose the Ideal Outdoor Antenna Location
The outdoor antenna is the foundation of a strong installation. For the best performance, mount it:
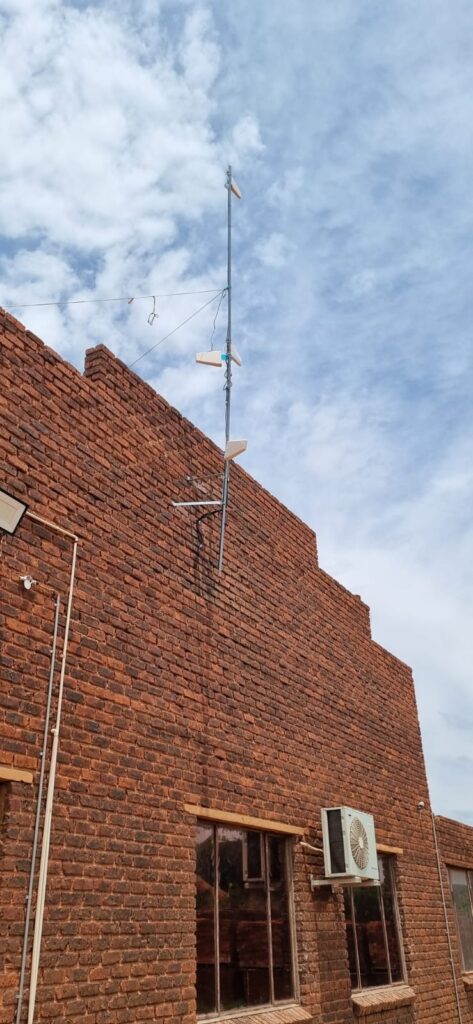
- On the roof, gutter, or high exterior wall
- Facing the direction of the nearest cell tower
- Away from metal structures or large obstructions
- As high as safely possible
This ensures the antenna captures the cleanest and strongest signal available before sending it into the booster.
Step 3: Mount the Outdoor Antenna Securely
Once you identify the best spot, mount the antenna using brackets or wall mounts provided. Keep it:
- Vertical for omnidirectional antennas
- Pointing toward the tower for directional antennas
- Safely clear of electrical lines
Use high-quality weatherproof fixings to ensure the antenna remains stable during wind, rain, and storms.
Smooth transition → Now that your outdoor signal source is secured, it’s time to prepare the indoor setup.
Step 4: Position Your Booster (Amplifier Unit)
The amplifier should be placed inside the building in a dry, central, and ventilated location such as:
- A hallway
- Office cabinet
- Utility room
- Indoor wall space
Avoid placing it behind thick walls or inside metal cabinets, as these reduce efficiency. Leave at least 30 cm of space around it to prevent overheating.
Step 5: Install the Indoor Antenna
The indoor antenna distributes the improved signal throughout the building. Position it:
- In the centre of your desired coverage area
- At least 8–10 metres away from the outdoor antenna
- Away from large metal objects
- Ideally above head height for optimal routing
Smooth transition → The next step is connecting the system together.
Step 6: Connect All Cables
Use high-quality coaxial cables and follow these steps:
- Connect the outdoor antenna cable to the “Outdoor” port on the booster
- Connect the indoor antenna cable to the “Indoor” port
- Avoid tight bends or sharp corners in cables
- Keep outdoor and indoor cables separated to prevent oscillation
Double-check that all connectors are tight and secure to avoid signal loss.
Step 7: Power On and Test the System
Once everything is connected:
- Plug the booster into a power socket
- Allow it to boot up
- Check the LED indicators
- Use your phone to test call quality and data speeds
If performance is low, simply adjust the direction of your outdoor antenna slightly until you find the strongest signal.
Step 8: Fine-Tune for Maximum Coverage
To optimise your booster:
- Rotate the outdoor antenna slowly to find the peak signal
- Move the indoor antenna if you have coverage dead zones
- Increase antenna separation if the booster shows oscillation alerts
- Ensure cables are not damaged, kinked, or loose
Small adjustments can produce dramatically stronger indoor coverage.
Step 9: Common Mistakes to Avoid
To achieve the best outcome, avoid the following errors:
- Installing antennas too close to each other
- Mounting the outdoor antenna too low
- Running indoor and outdoor cables together
- Placing booster unit in a poorly ventilated area
- Using cheap, low-quality coax cables
By understanding How to install a signal booster correctly, you eliminate these issues and ensure powerful, long-term performance.
Conclusion: Installing a Signal Booster Is Easier Than You Think
Now you fully understand How to install a signal booster, you’re ready to transform your mobile connectivity. With the right locations, proper cable management, and smart fine-tuning, you’ll enjoy stronger coverage, faster data, and smoother call quality across your entire space.